nyc events in march // diy kit // pcb design
& hand-wringing over how to capitalize these headings
upcoming events in NYC
Human-Assisted Art: Renaissance
Experience Poetry Camera and other pieces from artists and technologists working with artificial intelligence.
🗓️ Friday, March 8 – Sunday March 10
📍 Persona, 202b Plymouth St, Brooklyn, NY 11201
🥂 We (Ryan and Kelin) will both be at the Gallery Party with the other artists in the show on Saturday March 9, 6-11pm. Come play with the camera, chat with us, and enjoy live music and an open bar.
👉👉 Get tickets for the Gallery Party here 👈👈
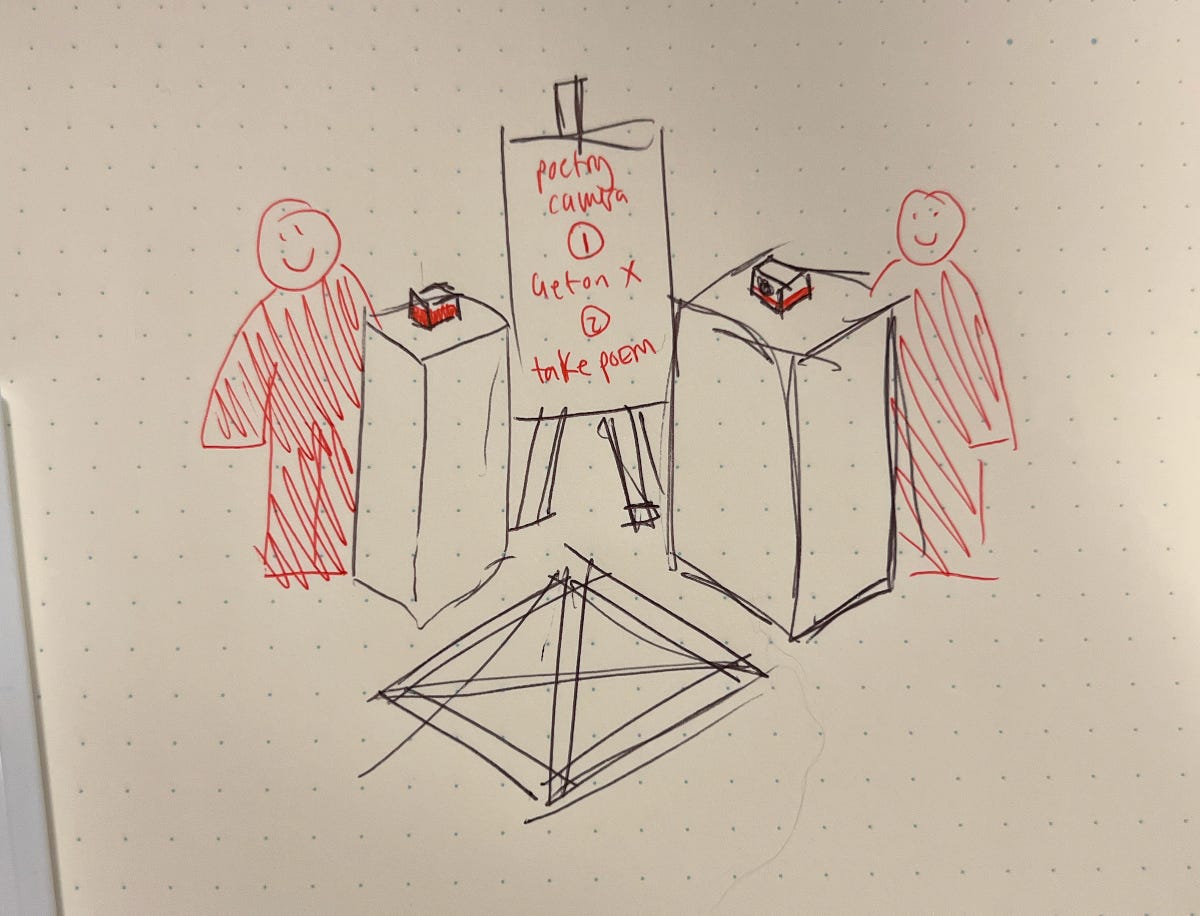
Very official sneak peek at our setup, which includes TWO Poetry Cameras for the first time ever:
AI and Art Demo Night @ Union Square Ventures
I (Kelin) will be there to share our cardboard software-dev prototype and talk shop.
🗓️ Thursday March 7
📍 RSVP for address
Not in NYC? Not to worry…
we’re working on a DIY kit
Over the course of this project, we’ve been thinking of Poetry Camera as an interactive experiential art piece — a photographer gifts a poem to the subject, creating a little moment of surprise. So our focus up until now has been to make a single device that’s a lot of fun at events. The ultimate goal was not to create the most impressive poems or the most perfect object, but to create a memorable experience for everyone involved. The physical artifacts are merely a means to that end.
But a lot of people everywhere are really excited to play with the camera, and we can’t be everywhere at once. How do we make this more accessible to people?
We’re going to make a beginner-friendly DIY kit, so anyone can make their own Poetry Camera and put their own spin on it. Change up what the camera prints, or make your own enclosure, or reuse the parts for a new project in the future. We’re excited to make Poetry Camera more accessible in a way that encourages creativity, learning, and sustainability.


Why not an app? Or a readymade device? Wouldn’t those scale better? Sure, but this is an art project! We decide to work on what is most interesting to us. Our highest ambition is not to maximize profit or go hyperscale, but rather to preserve the integrity of our creative vision and make something we feel proud to share. We want to make sure that whatever we release encourages human interaction and creativity rather than replaces it with a machine.
We’re continuing to share the camera at events and gallery shows to playtest new camera iterations as we shift it towards the DIY kit version. (There’s nothing like a good deadline to move a project forward!) And we’ll be testing the instructions and kit assembly via educational workshops in the spring.
If you want to help support this independently-funded project, we’d appreciate it if you shared this newsletter with someone who might be interested in getting the kit!
what we learned from our last event
Whitebox Chapter 1 @ Living Skin
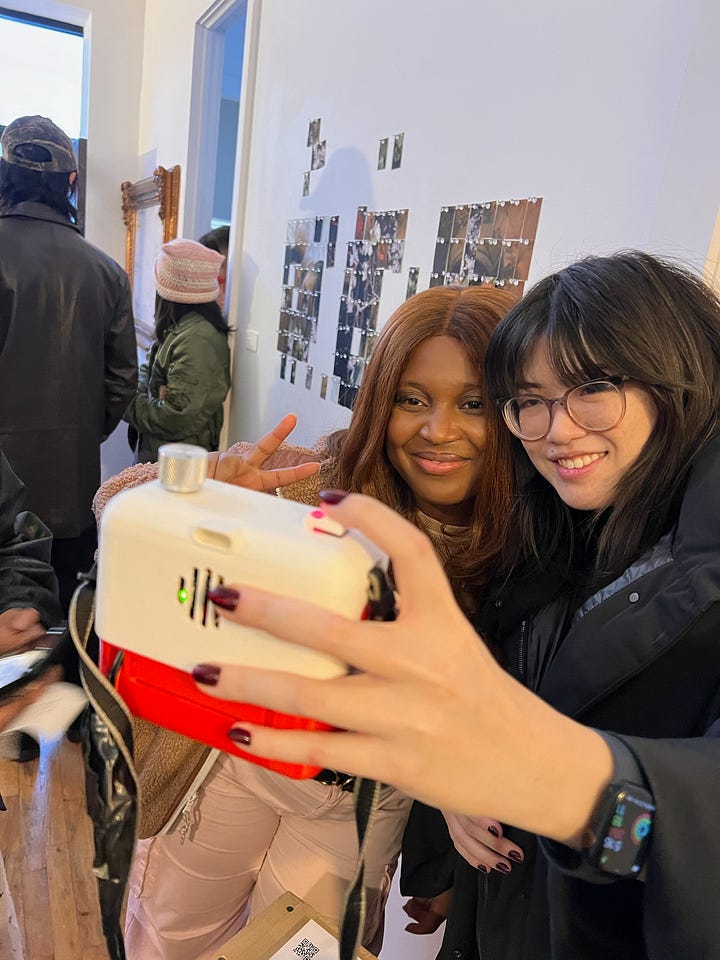
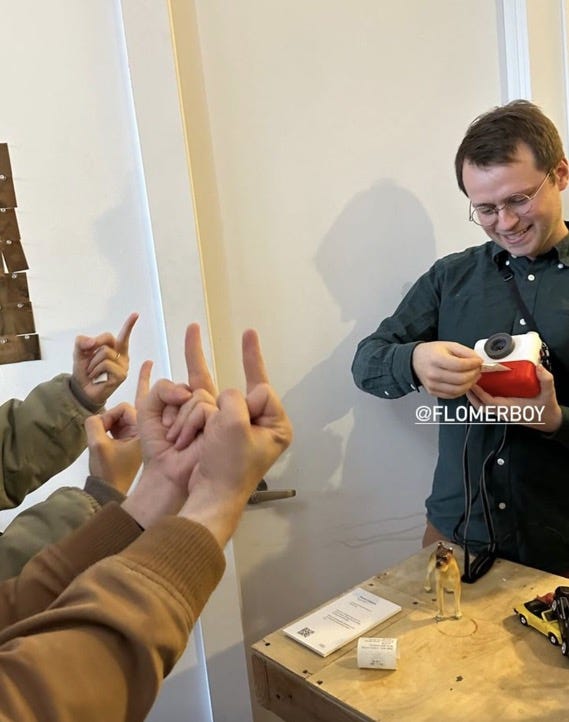
In our last newsletter, we described some of our progress on V3 as we prepared for the Whitebox pop-up gallery in Bushwick. V3 included some major usability updates allow the camera to be used by other people who aren’t me or Ryan. This included:
Adding a hinging jaw to let you replace paper easily
Finally making use of the knob, adding some different poem settings for mystery and variety
Adding a viewfinder so you know how to aim the camera
Adding a strap so you don’t need to hold it all the time
Let you hold the shutter button to shut down the camera
Making the shutter button’s status LED clearer so you know when the camera is ready for a new photo, writing a poem, or shutting down
Printing out error messages and troubleshooting tips, so you know when something’s broken
We learned so much from letting people handle the camera directly. And as always, seeing people play with the camera for the first time continues to be super fun and special. Thanks again to Artifice and Living Skin for having us.
usage observations
We always invited people to take a photo themselves, but people were understandably afraid to touch it, and often preferred that we take a photo for them instead. Yes, it looks like a camera, but people didn’t want to accidentally use it the wrong way or break something — especially in front of the people who made it.
We had some props people could take photos of, but at the event, people preferred taking photos of each other. We don’t save the photos/poems anywhere, so we don’t know if people used the props outside of the event setting.


hardware observations
Paper switching jaw is working great!
Tearing the paper is completely unintuitive! This build requires a certain down-and-out motion for a clean tear; outside of that range of motion, you risk a messy tear or a paper jam.
People often pressed the shutter button much harder than we expected, trying to make sure that the photo actually “took.” It’s hard to know without a screen, I guess! Some people held it for so long they accidentally triggered our new hold-to-shut-down mechanism, which we had to change on the fly during the event.
Some people didn’t notice the viewfinder at all! Too small?
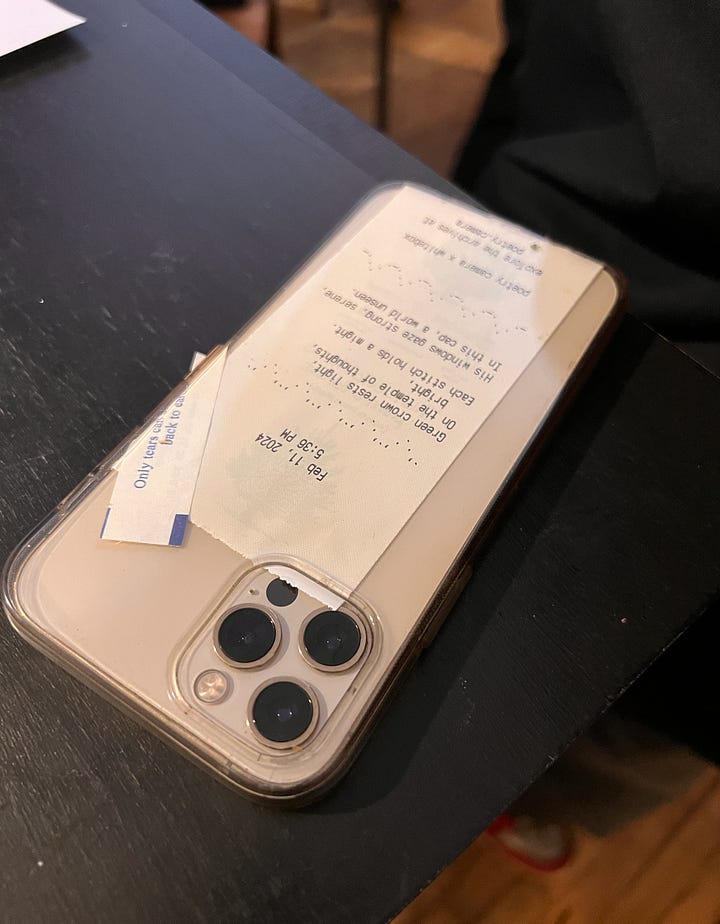
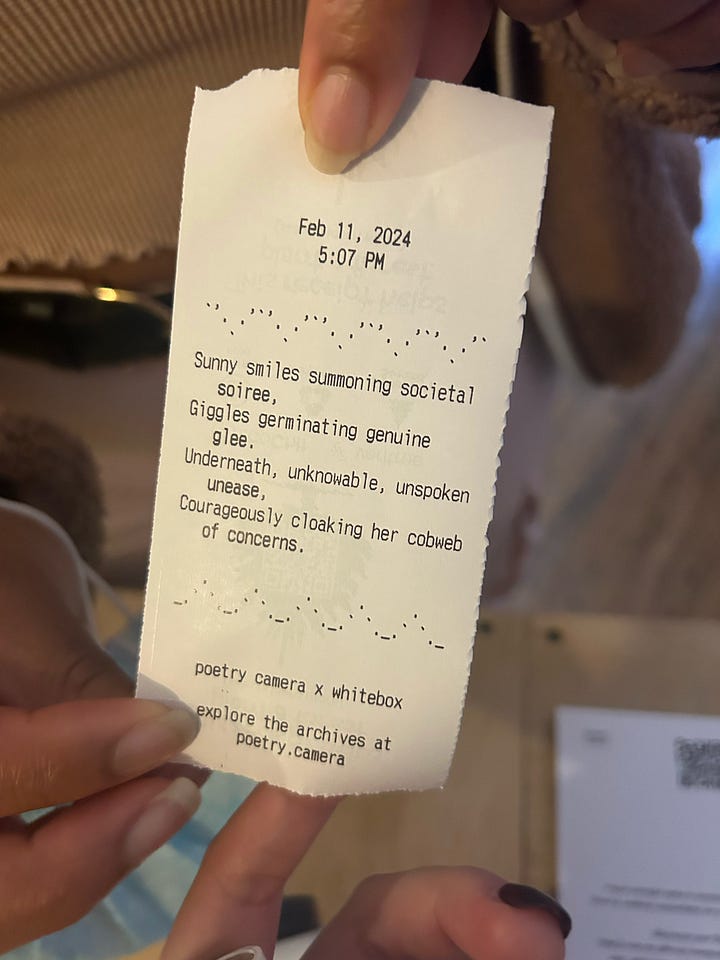
poem observations
Non-standard formats, e.g. alliteration poems, are surprisingly charming
Poems that are too long (e.g. sonnet) get repetitive. Not fun enough!
Some people are disappointed when the poems are too short, e.g. couplets
Custom event-specific printouts feels nice and special
miscellaneous observations
I got asked no less than 5 times if I was affiliated with NYU ITP. No, but if you are, DM me to set up a DIY Kit workshop xoxo
adventures in PCB design

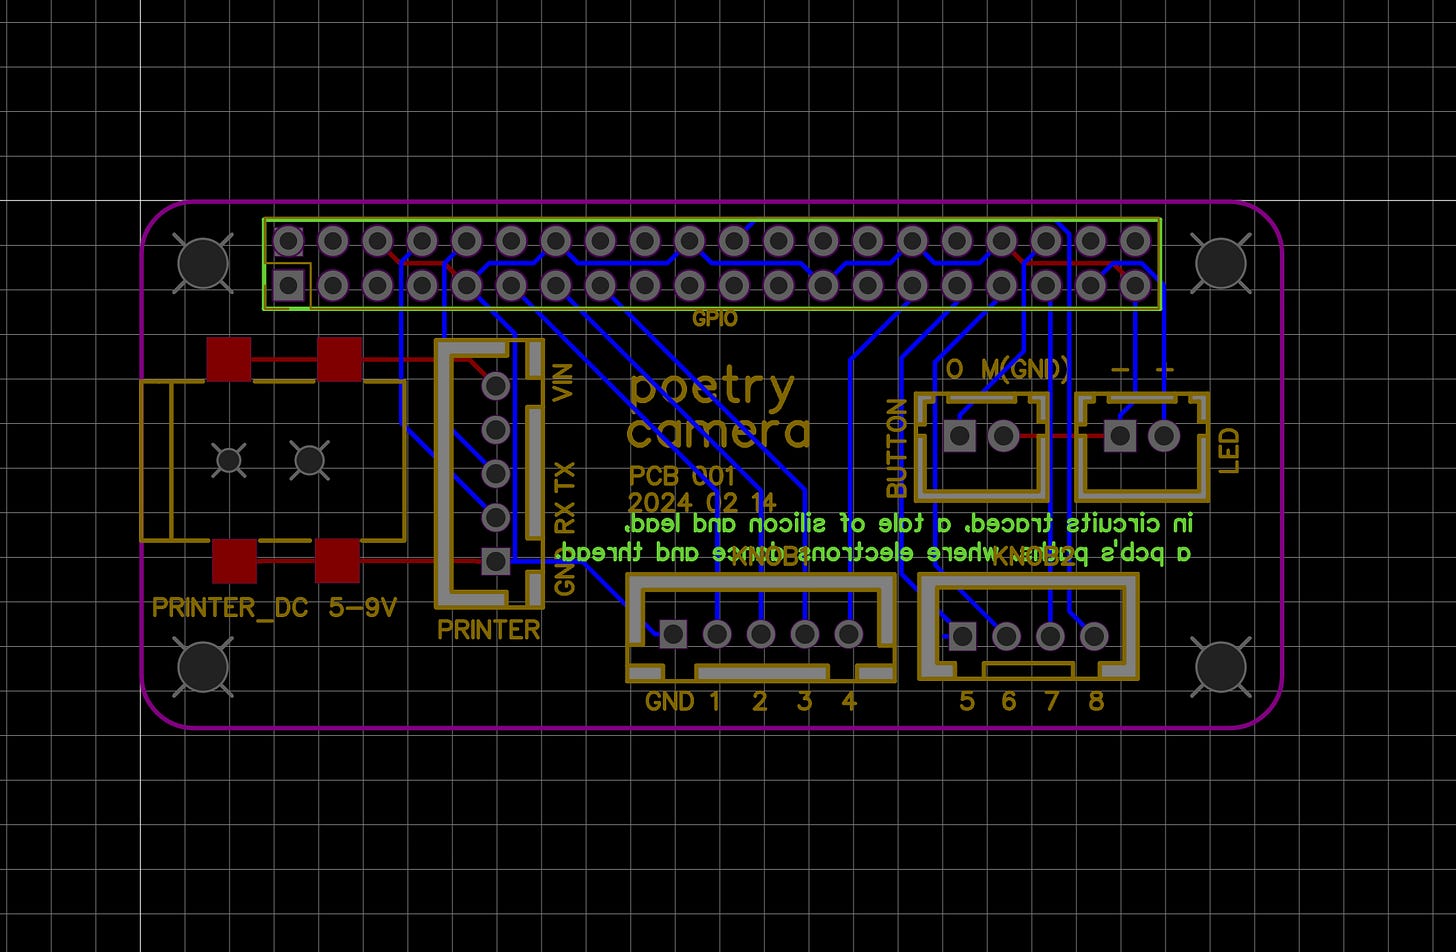
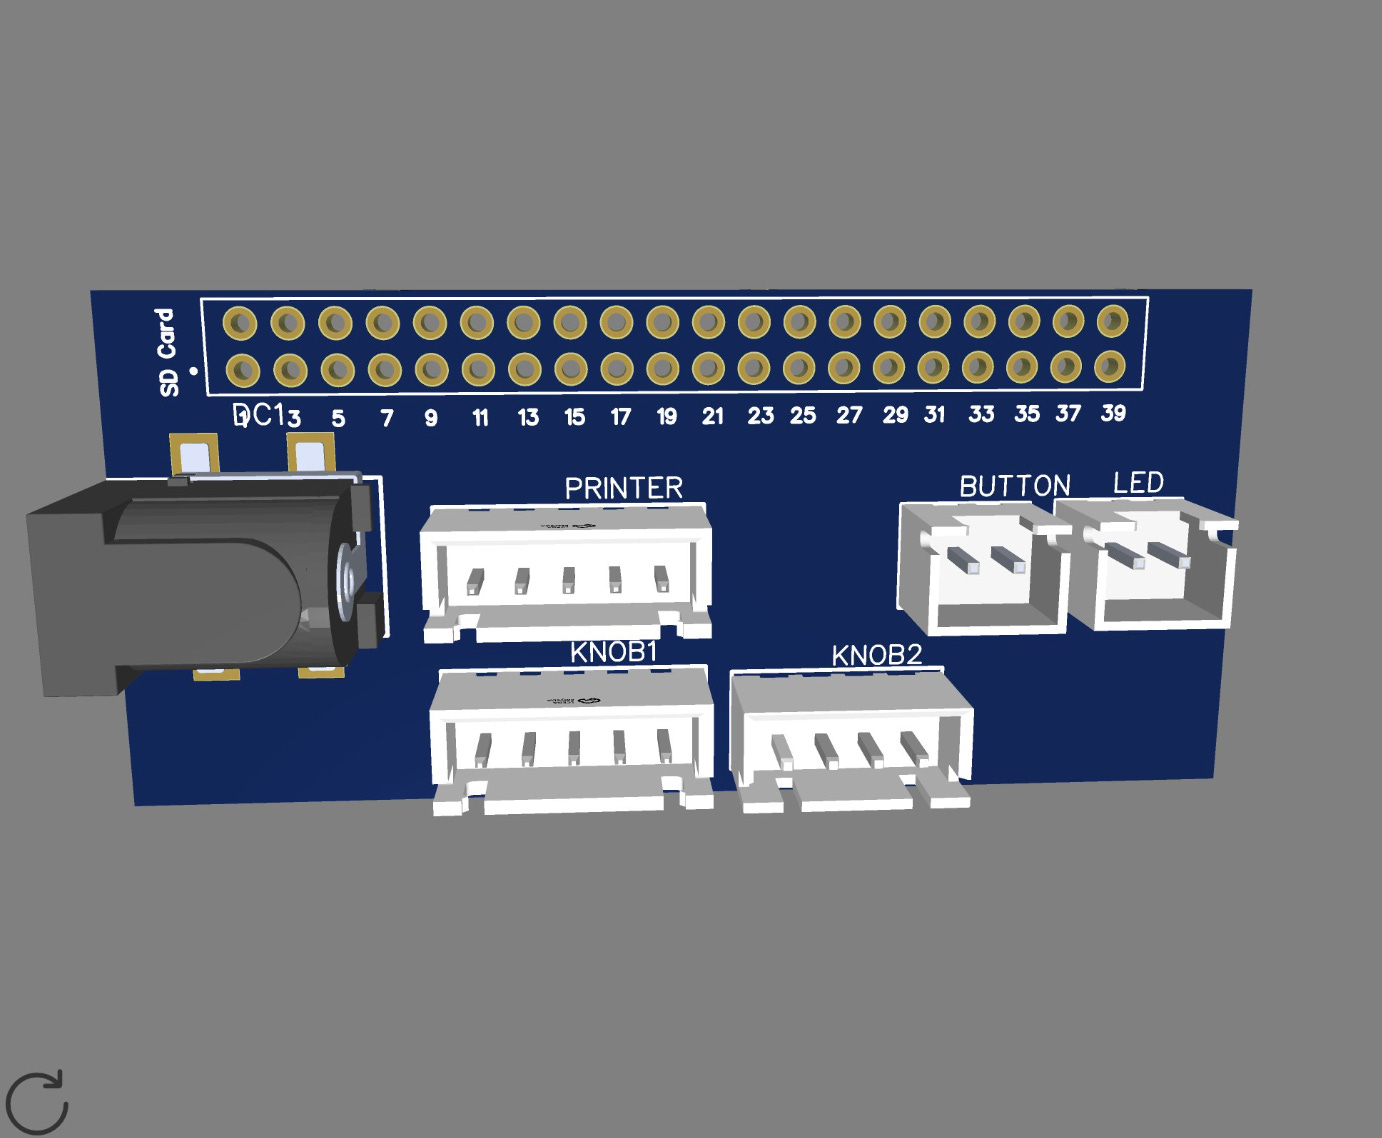
To make our device more compact and easy to assemble, we’re exploring making a printed circuit board (PCB) to replace our current wiring. Our current build has a lot of individual jumper cables, which is flexible for prototyping but creates a lot of new potential failure modes. Plug a wire into the wrong pin and you could fry everything; knock out a wire on accident and the camera could become inoperable. Plus, we did a lot of manual crimping and soldering for our current prototype, which we won’t be able to easily scale for a DIY kit. Perhaps a single custom component (the PCB) with a couple of off-the-shelf connector cables can be the solution to all these problems.
The downside, of course, is that simplifying everything into a plug-and-play board likely discourages people from tinkering around with it more, since they won’t be able to see how all the pieces actually tie together:
I’ve never made a PCB before, but it seemed like a fun challenge. To get into the swing of things, I just started by trying to replicate our exact current wiring in board format, rather than move ports around or switch up components. Start small, try the end-to-end process, iron out any kinks, then introduce more changes to the circuitry as we figure out power supply and new functionality.
Of course, I am a designer by trade, not an electrical engineer! I got a lot of help from more experienced folks who were able to show me the ropes: Mark Florkowski who shared some pointers and encouraged me down this rabbit hole in the first place, and Zack Scholl from the Recurse Center who walked me through the whole process—from drawing the schematic in EasyEDA to ordering the actual PCB from JLCPCB. Thank you for saving me a week of spinning and flailing!
Now we wait for this to come in the mail and see if it works at all…


